Brick chimneys are sturdy and highly durable structures, but despite this fact they still need basic routine maintenance. Constantly being exposed to smoke from the fireplace can lead to a variety of problems for your chimney. It can also suffer structural damages from harsh and external conditions such as the weather. Basic repairs will therefore be needed, and are in fact rather easy to do yourself by using the following information.
Step 1: Identifying and Preparing Brick Chimney Repair Spots
Before you can identify damaged parts of the chimney it is critical that you clean out and remove and debris that may be left in your chimney. This process includes removing any at-risk material that may fall off in the neat future such as weather pieces of bricks. You should also keep an eye out for crumbling mortar lining, and remove such findings during this stage of the process. You should be able to get by with simple household tools like a chisel and hammer. The chisel can be used to knock on each brick that is within the inner lining of your chimney. This step will allow you to identify any loose bricks that may need repaired. If the brick is in good condition then you can simply remove and relay them, but damaged bricks should be replaced.
Any found damage should be swept away with debris by a small paintbrush. You can use a moist sponge to remove debris and to obtain the required moisture for the mortar. You should also wet the replacement bricks prior to positioning them into the new repair spots.
Step 2: Repairing Damaged Spots
You should now open your packaged mortar mix. Dump the contents into a plastic bucket and mix the water in according to the provided instructions. The mortar mix can then be placed on with a trowel. Use your trowel to press the mix into any weathered or damaged chimney joins. The pointed side of the trowel can be used to scrape away any excessive mix that may remain. Next, apply the mortar mix to a single side of the replacement brick and spread the mix with your trowel to create an evenly layered surface. Insert the bricks and place them into the damaged spots. It should take a day or two for the bricks to dry into place.
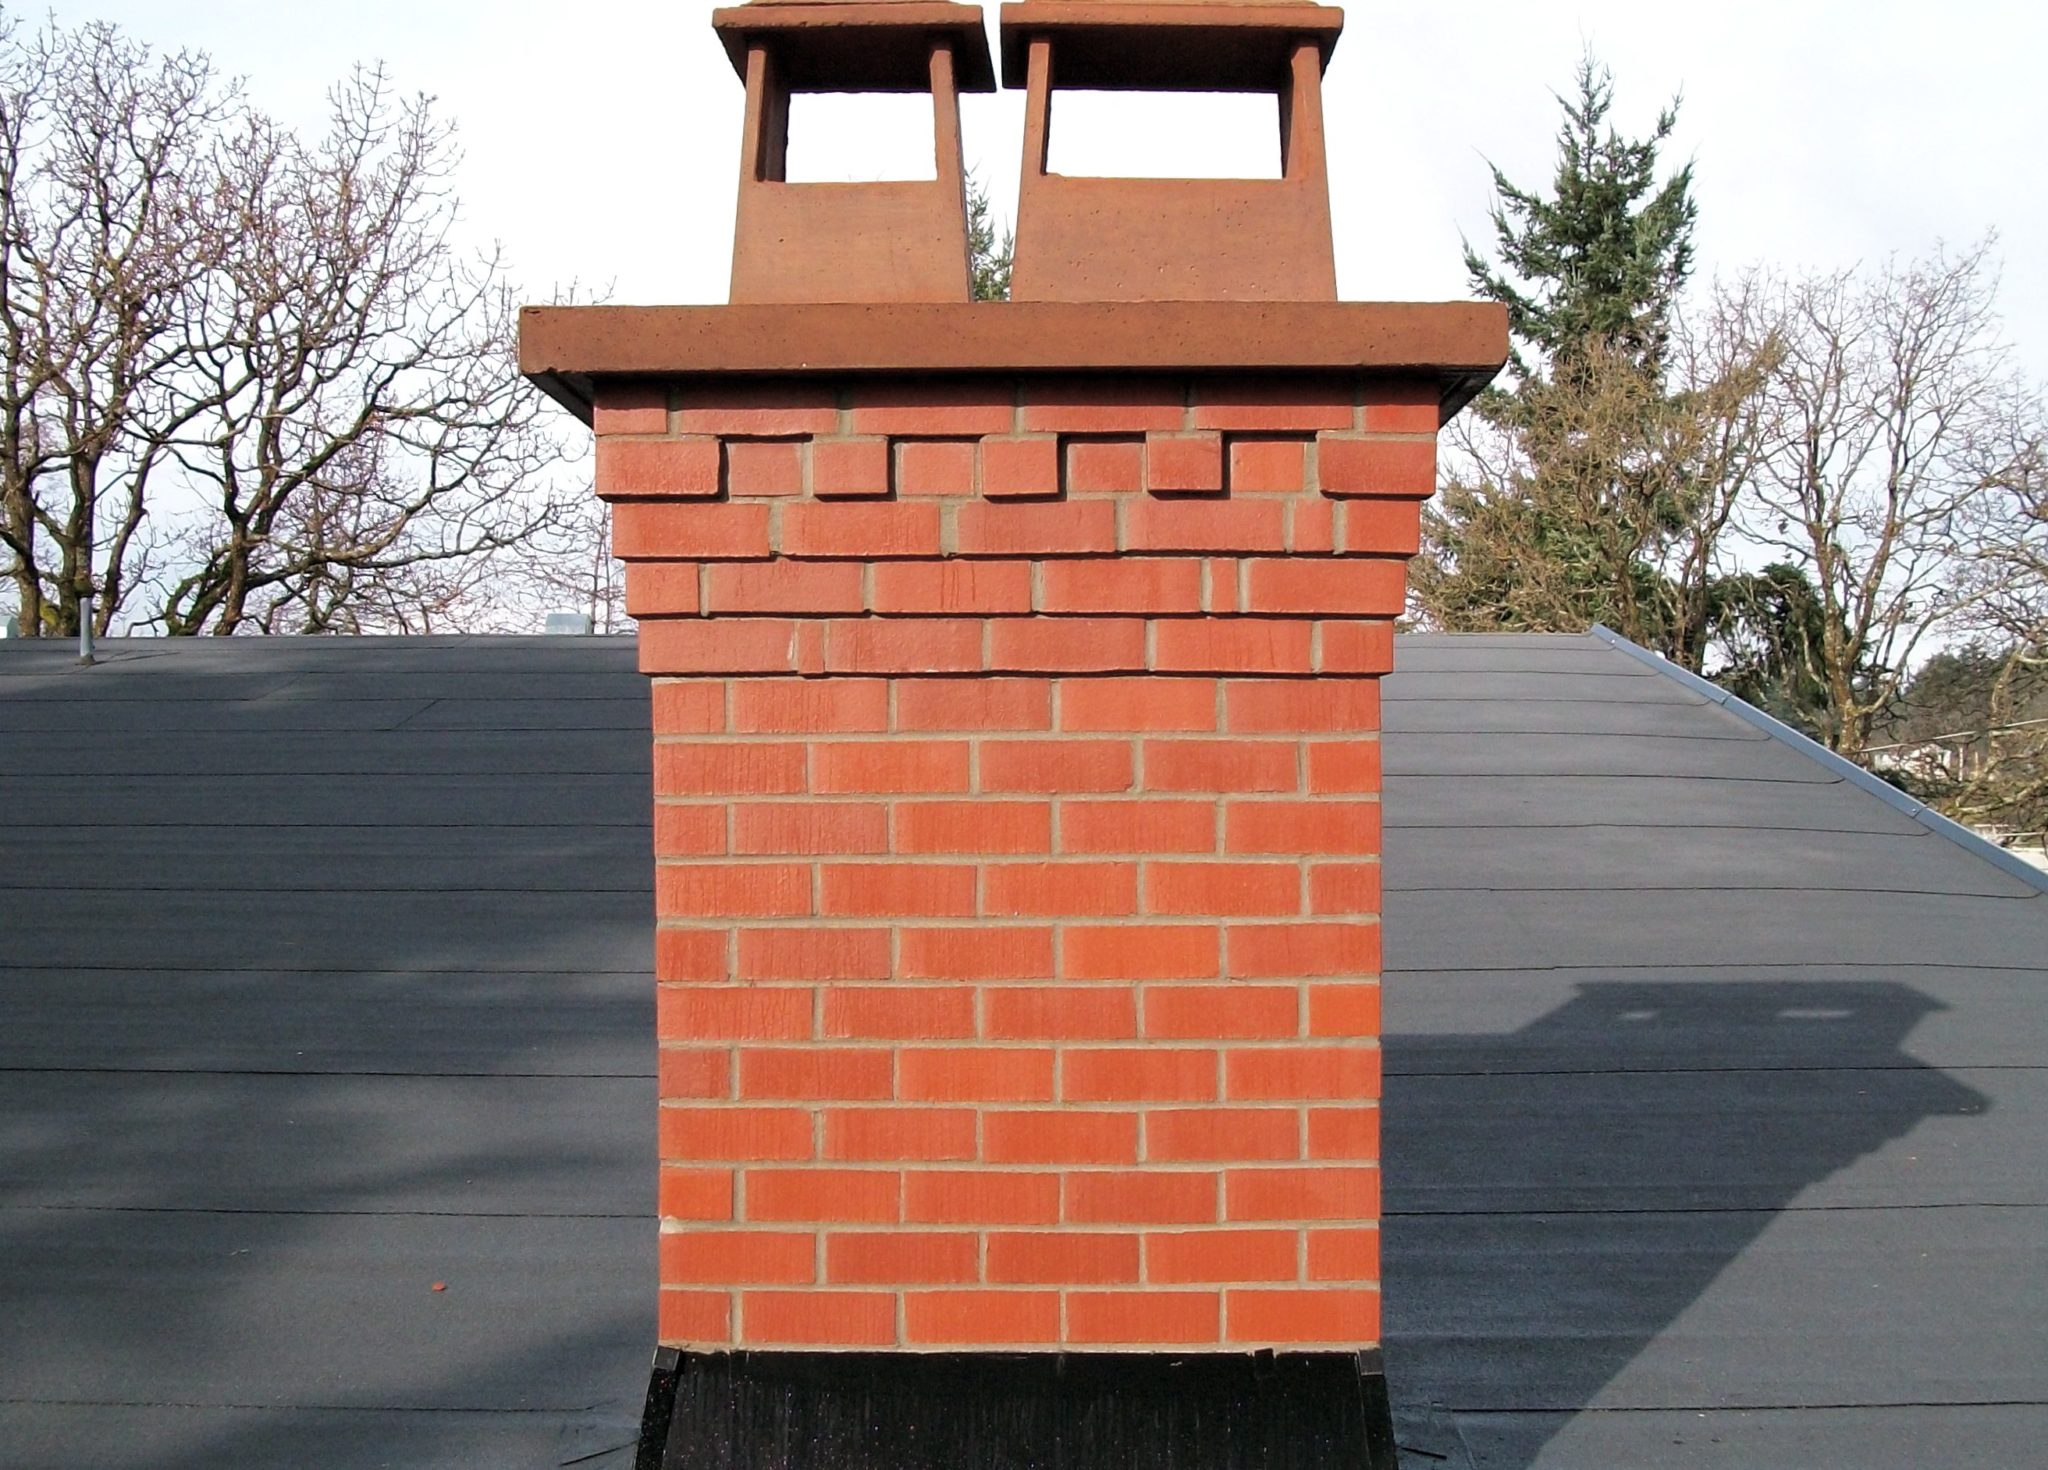
Step 3: Fixing Weathered Chimney Crowns
Damaged mortar lining can easily be removed from your chimney crown with a chisel. Prepare your masonry cement and some pea gravel by mixing the items together in water. You will want to apply a generous amount of water, but make sure that the consistency does not get overtly wet. You can use your trowel for consistency. The mixture should not drop when it is being scopped by the trowel. You can then begin pressing the mix into the chipped crown of your brick chimney. Apply and press more cement mix until the small pockets of extra cement starts to form around the edges. You should then use your trowel to scoop away any extra cement.